Having built 150+ guitars over the years, I’ve been wanting to try something a little different, and thought lute making would be enough of a challenge, without being too far out of my comfort zone.
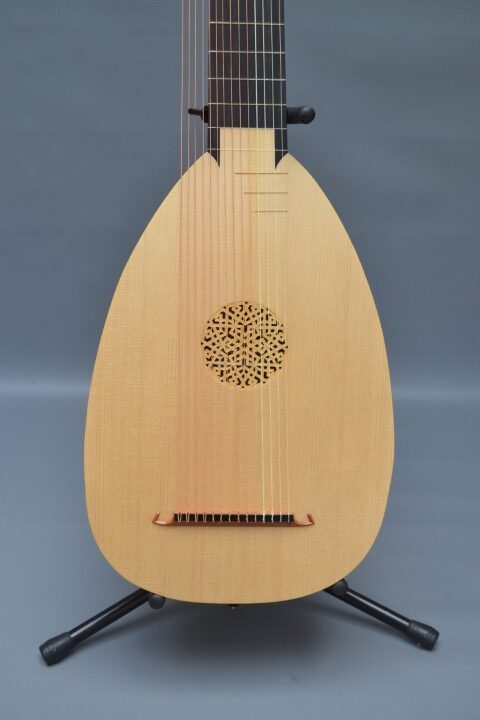
Last month I completed my first lute, an archlute, and delivered it to a happy customer. In this short series of posts I’ll document some of the details of the build, and some photos of the finished lute.
The customer was particularly interested in a Liuto Forte type instrument, having seen and heard a number of these played. The lute would therefore have single string courses rather than a combination of unison and octave pairs, and would be braced slightly differently to a traditional lute. Apart from this, the build would be largely traditional, and the only obvious difference externally the smaller number of strings and pegs.
The design was initially based on a Martinus Harz 675mm scale archlute, but with a number of modifications made to suit the different stringing. Most obvious externally is the shorter length of the bass strings which would be 960mm rather than the original 1440mm.
The bowl of the lute would have 13 ribs of bird’s-eye maple. I had an old set of maple back and sides originally cut for a viola de gamba, and there was just enough wood to make the ribs for the bowl. The wood was nicely aged (bought from Paul Fischer some years ago), and had very nice figure.
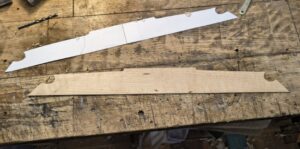
The first job was to build the mould for the bowl, and produce templates for the ribs. For the construction I largely followed instructions from David van Edwards’ lute building course, but the project would have certainly been much more difficult without the invaluable advice from my friend, ex-teacher, and gifted luthier Tony Johnson.
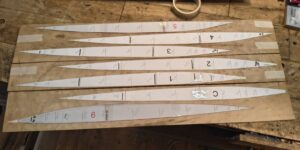
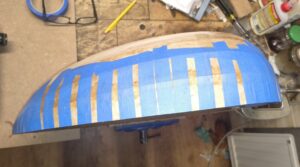
The paper templates are shown taped to the maple pieces before cutting out. It turned out there was a problem with the templates. I’m not sure whether the problem was with the software I used to generate them, or something I did, but fortunately I cut them with enough to spare that I was able to adjust them to fit.
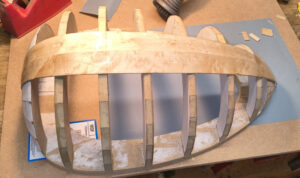
The body mold with the first two ribs glued together. This first joint went fairly quickly, but some of them took quite a while to get perfect. Hot hide glue is used for joining the ribs, which allows any slight errors to be corrected relatively easily.
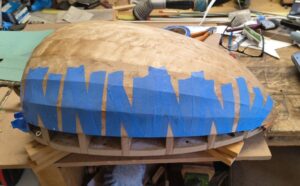
Somewhat later in the process – the penultimate rib on one side, held in place with masking tape while the glue dries.
The last rib taped in place. The last rib on each size is left slightly oversize, and trimmed down later before the soundboard is glued on.
The end clasp before bending. Tricky to get a good fit to the ribs on the end of the lute body, as it curves in two directions.
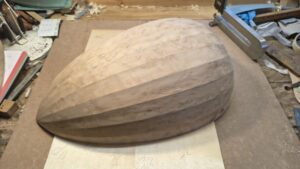
The completed bowl. There were a few imperfect joins, which were easily fixed by heating, applying more hide glue, and taping up again to close any gaps, or to get the ribs level. Once complete, the joins are reinforced with tape glued over them on the inside.
Next installment – starting on the soundboard!