12-hole tie block tutorial
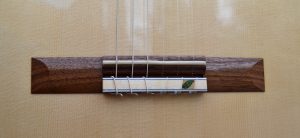
I now use a 12-hole tie block as standard on my guitars (unless specifically requested otherwise). The 12-hole tie block gives a more consistent, and greater break angle for the strings over the saddle, and also looks neater.
It is important, however, to know how to tie the strings correctly (especially the trebles), to avoid any painful (for the guitar) accidents.
The system described here works very well on my guitars, but cannot be guaranteed to be suitable for all 12-hole tie blocks, due to possible variations in the size and position of the holes, and the height of the tie block itself.
Please read through ALL of the instructions before starting.
You will need:
One set of strings!

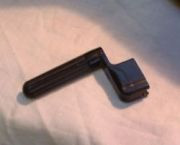
A string winder speeds things up, but is not essential.
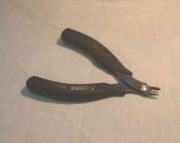
A pair of small electricians cutters.
Matches or a lighter.

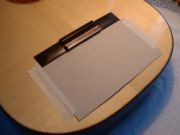
Something to protect the soundboard. A piece of cardboard secured with low-tack masking tape. Note that I have removed this protection in the following pictures for clarity. You should keep it on until all the strings are tied and up to pitch.
Bass strings:
If your bass strings have a section at one end with loose windings, first cut this off.
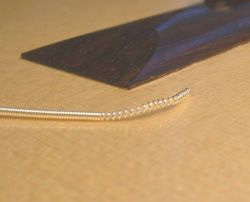
Pass one end of the bass string through the lower hole in the tie block, from the soundhole side. (Sometimes this is difficult, and forming a slight bend in the end of the string can help. If all else fails, the string can be fed through from the back of the tie block
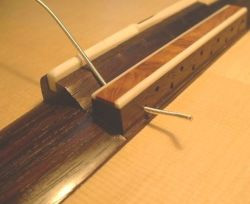
Next, loop the end of the string over the tie block, and pass it through the adjacent upper hole, from the same (soundhole) side.
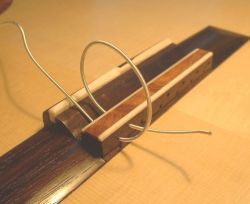
Now pull the string back through the upper hole until the bend reaches the tie block. Angle the end of the string so that it sits between the two holes.
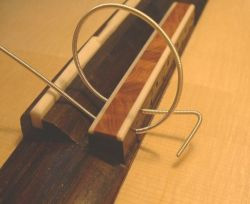
Next pull the long end of the string through the lower hole, so that it traps the end of the string between the two holes. The end of the string should lie horizontally.
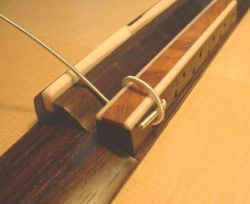
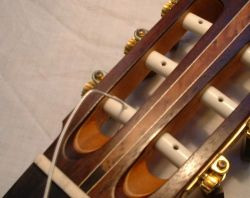
Attach the other end of the string to the machine head rollers as normal, and wind the tuner until it just starts to tension the string. Check that the end of the string is still secure at the tie-block, then continue to tension the string up to pitch.
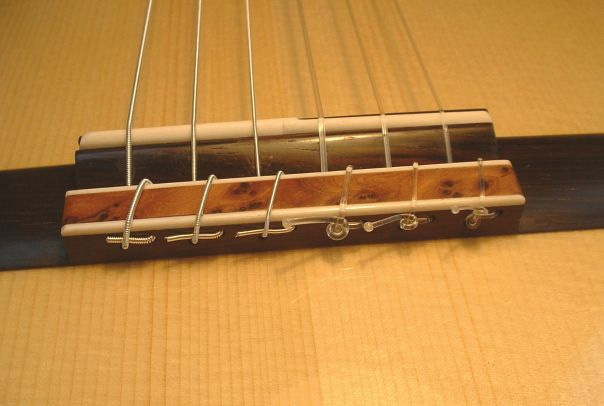
Repeat the above sequence for the remaining 2 bass strings. Trim the ends of the strings carefully with the cutters. The tie-block should then look like this:
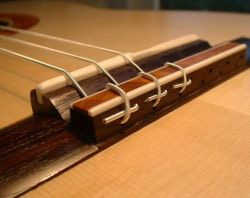
Treble strings:
Bend the end of the string slightly to make it easier to pass through the lower hole of the tie-block.
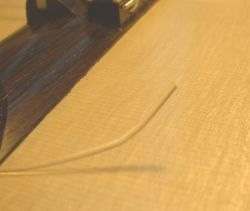
Pass one end of the treble string through the lower hole in the tie block, from the soundhole side.
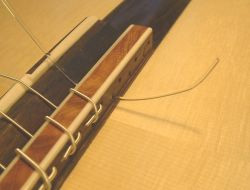
Next, loop the end of the string over the tie block, and pass it through the adjacent upper hole, from the same (soundhole) side.
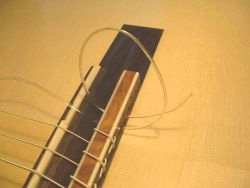
Now pass the end of the string through the loop formed around the tie block.
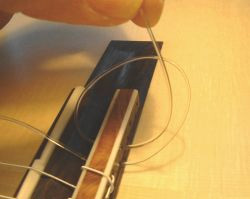
Then pass the end of the string around the loop, and through the loop a second time. The end of the string should be pointing approximately upwards.
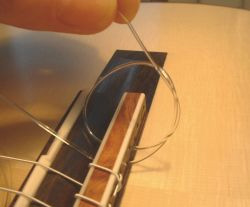
N.B. 1st string only: For the top E string, it is necessary to pass the end of the string through the loop a third time.
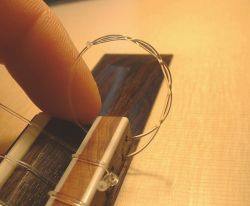
Holding the end of the string, pull the rest of the string back through the lower hole of the tie block.
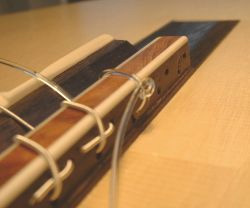
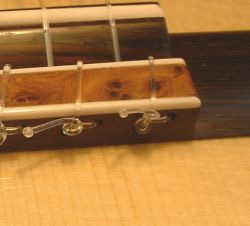
As the loop around the tie block tightens, make sure to pull the end of the string away from the tie block (towards the end of the guitar), so that it is gripped at the back of the tie block (pic 5 above), not on the top like this…
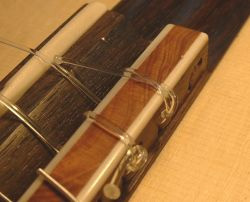
Attach the other end of the string to the machine head rollers as normal, and wind the tuner until it just starts to tension the string. Check that the end of the string is still secure, and has not slipped up onto the top of the tie block. Then continue to tension the string up to pitch.
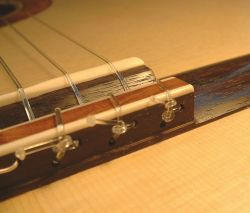
Repeat the above sequence for the remaining 2 treble strings. Trim the ends of the strings carefully with the cutters. The tie-block should then look like this…
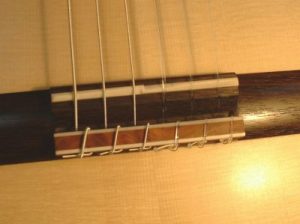
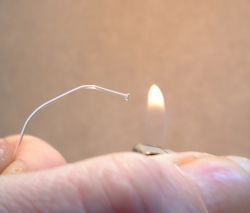
Notice that in some of the previous photos, the ends of the treble strings have been melted slightly to form a ball. This is further insurance against the string slipping out.
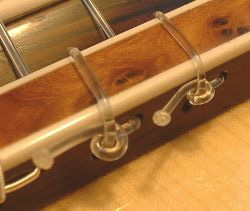
Use a match or lighter to slightly melt the end of the string. Take care, the melted end will stay very hot for several seconds. Do this well away from the guitar BEFORE tying the string to the tie-block.
You will have to thread the string the opposite way through the tie-block as the ball end will not go through the hole. Thread the other end of the string through the upper hole from the bottom end of the tie block.
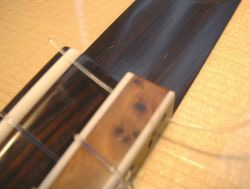
Pull the string right through to leave about 20mm.
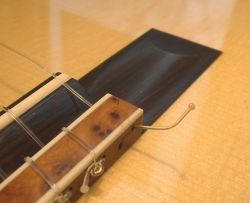
Next, loop the end of the string over the tie block, and pass it through the adjacent lower hole, from the same side.
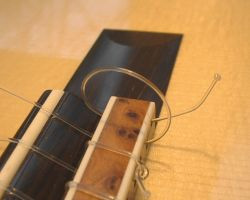
Now pass the end of the string through the loop formed around the tie block.
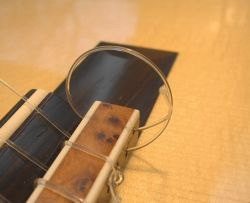
Then pass the end of the string around the loop, and through the loop a second time. The end of the string should be pointing approximately upwards.
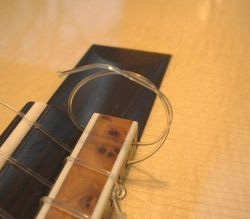
N.B. 1st string only: For the top E string, pass the ball end of the string through the loop a third time.
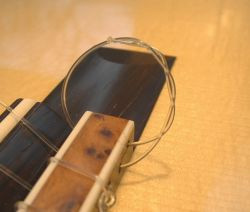
Holding the ball end of the string, pull the rest of the string back through the lower hole of the tie block. Again, make sure the last loop of the string is held at the back of the tie-block, not on the top.
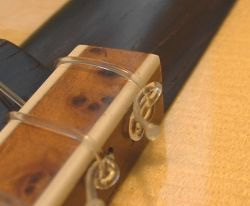
Tie the loop, pulling enough of the string through so that the balled end is not too long.
