
No pictures were taken of the neck being glued to the body. This is because it is a very manual operation. Hide glue is liberally applied to both surfaces (after the end grain is thoroughly sized with thinned glue). The two parts of the joint are then rubbed together, squeezing any excess glue out, until the join starts to grab. At this point the neck needs to be accurately positioned, which is done by feel (when the top surface of the neck is flush to the neck block in the body), and visually by aligning pencil lines marked on the same two surfaces. The two parts are then just held in position until secure, and then the assembly is left propped upright while the glue dries fully.
Next step is gluing on the soundboard. As with most of the lute, hot hide glue is used, and this allows relatively easy removal of the top in the future if repairs are needed.
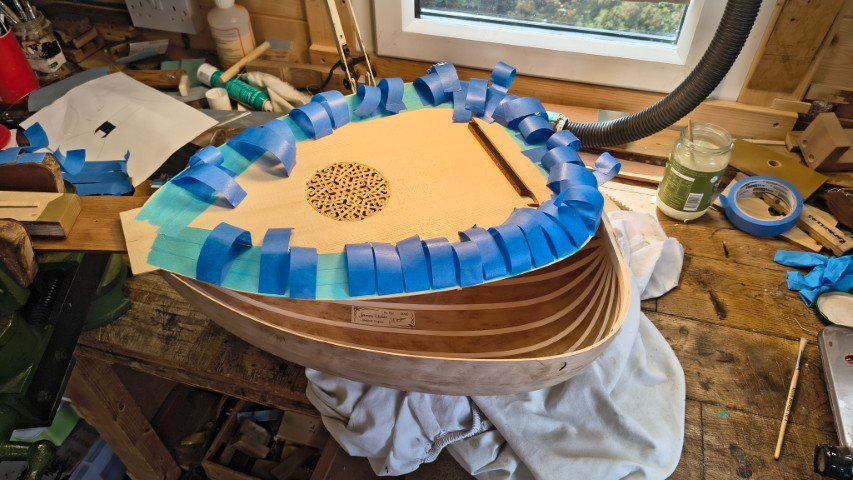
The top is quite thin and delicate, so I used low tack masking tape to cover the outer area of the top. Stronger, high tack tape is then used to hold the soundboard down to the sides while the glue dries. Having most of the pieces of tape in position before starting makes the gluing operation quick. Although hide glue can be reactivated with heat, I prefer to have it all securely glued in one go.
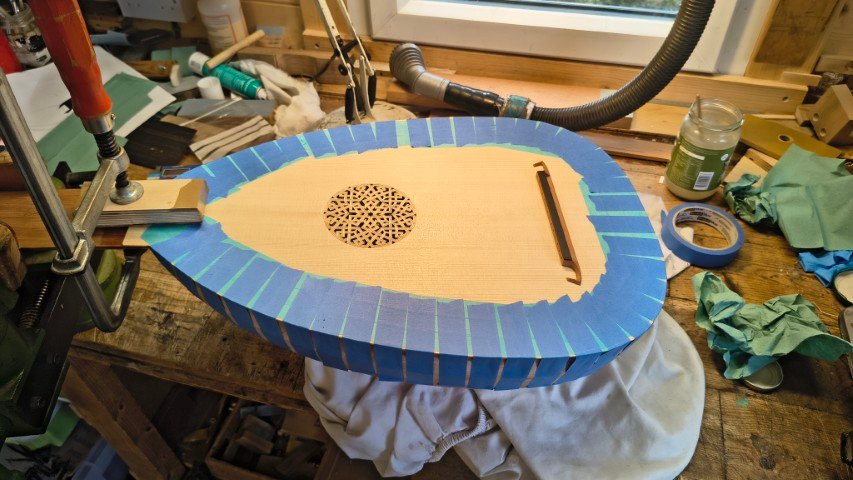
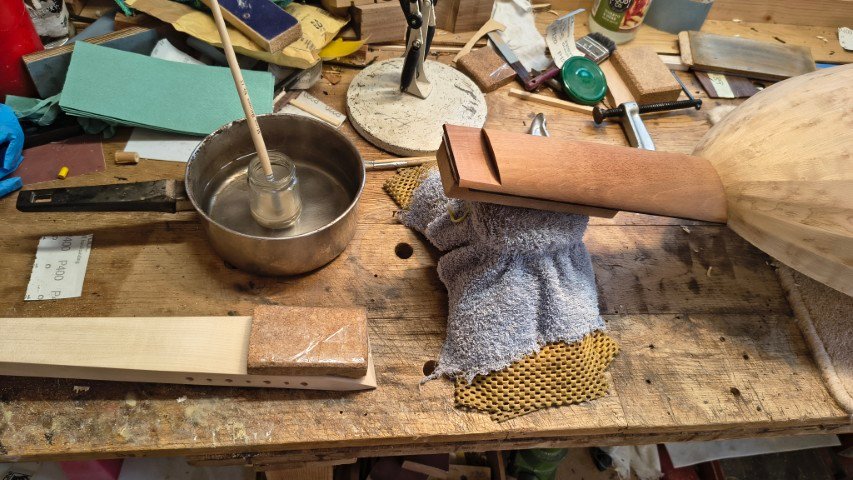
All taped down. Next the fingerboard is prepared and glued to the neck, along with the decorative “beards” that extend onto the soundboard.
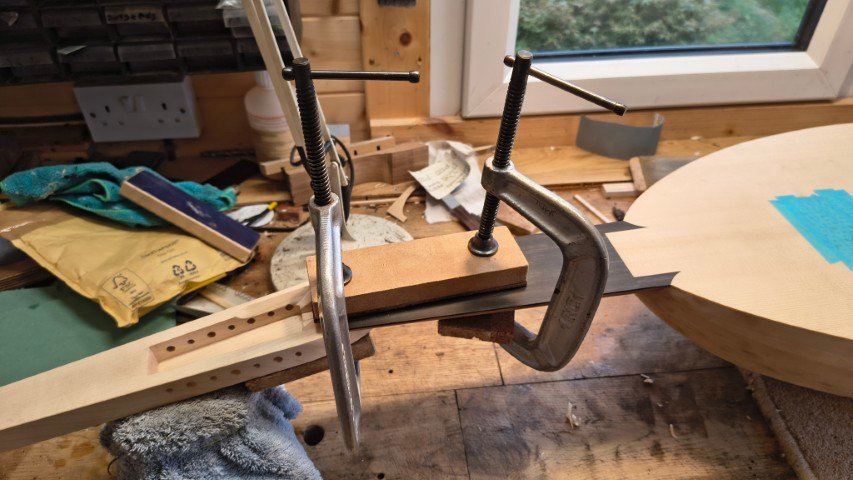
Final assembly task is gluing the neck extension to the neck.
For the neck extension much the same procedure is used as for gluing the neck to the body, but in this case clamps can be used to hold the joint in position.Both neck joints are secured with a screw, but as some recent repair jobs have demonstrated, it’s the glue joint that is critical, and the screw merely stops the neck falling off if the glue joint fails!
Next time – finishing!